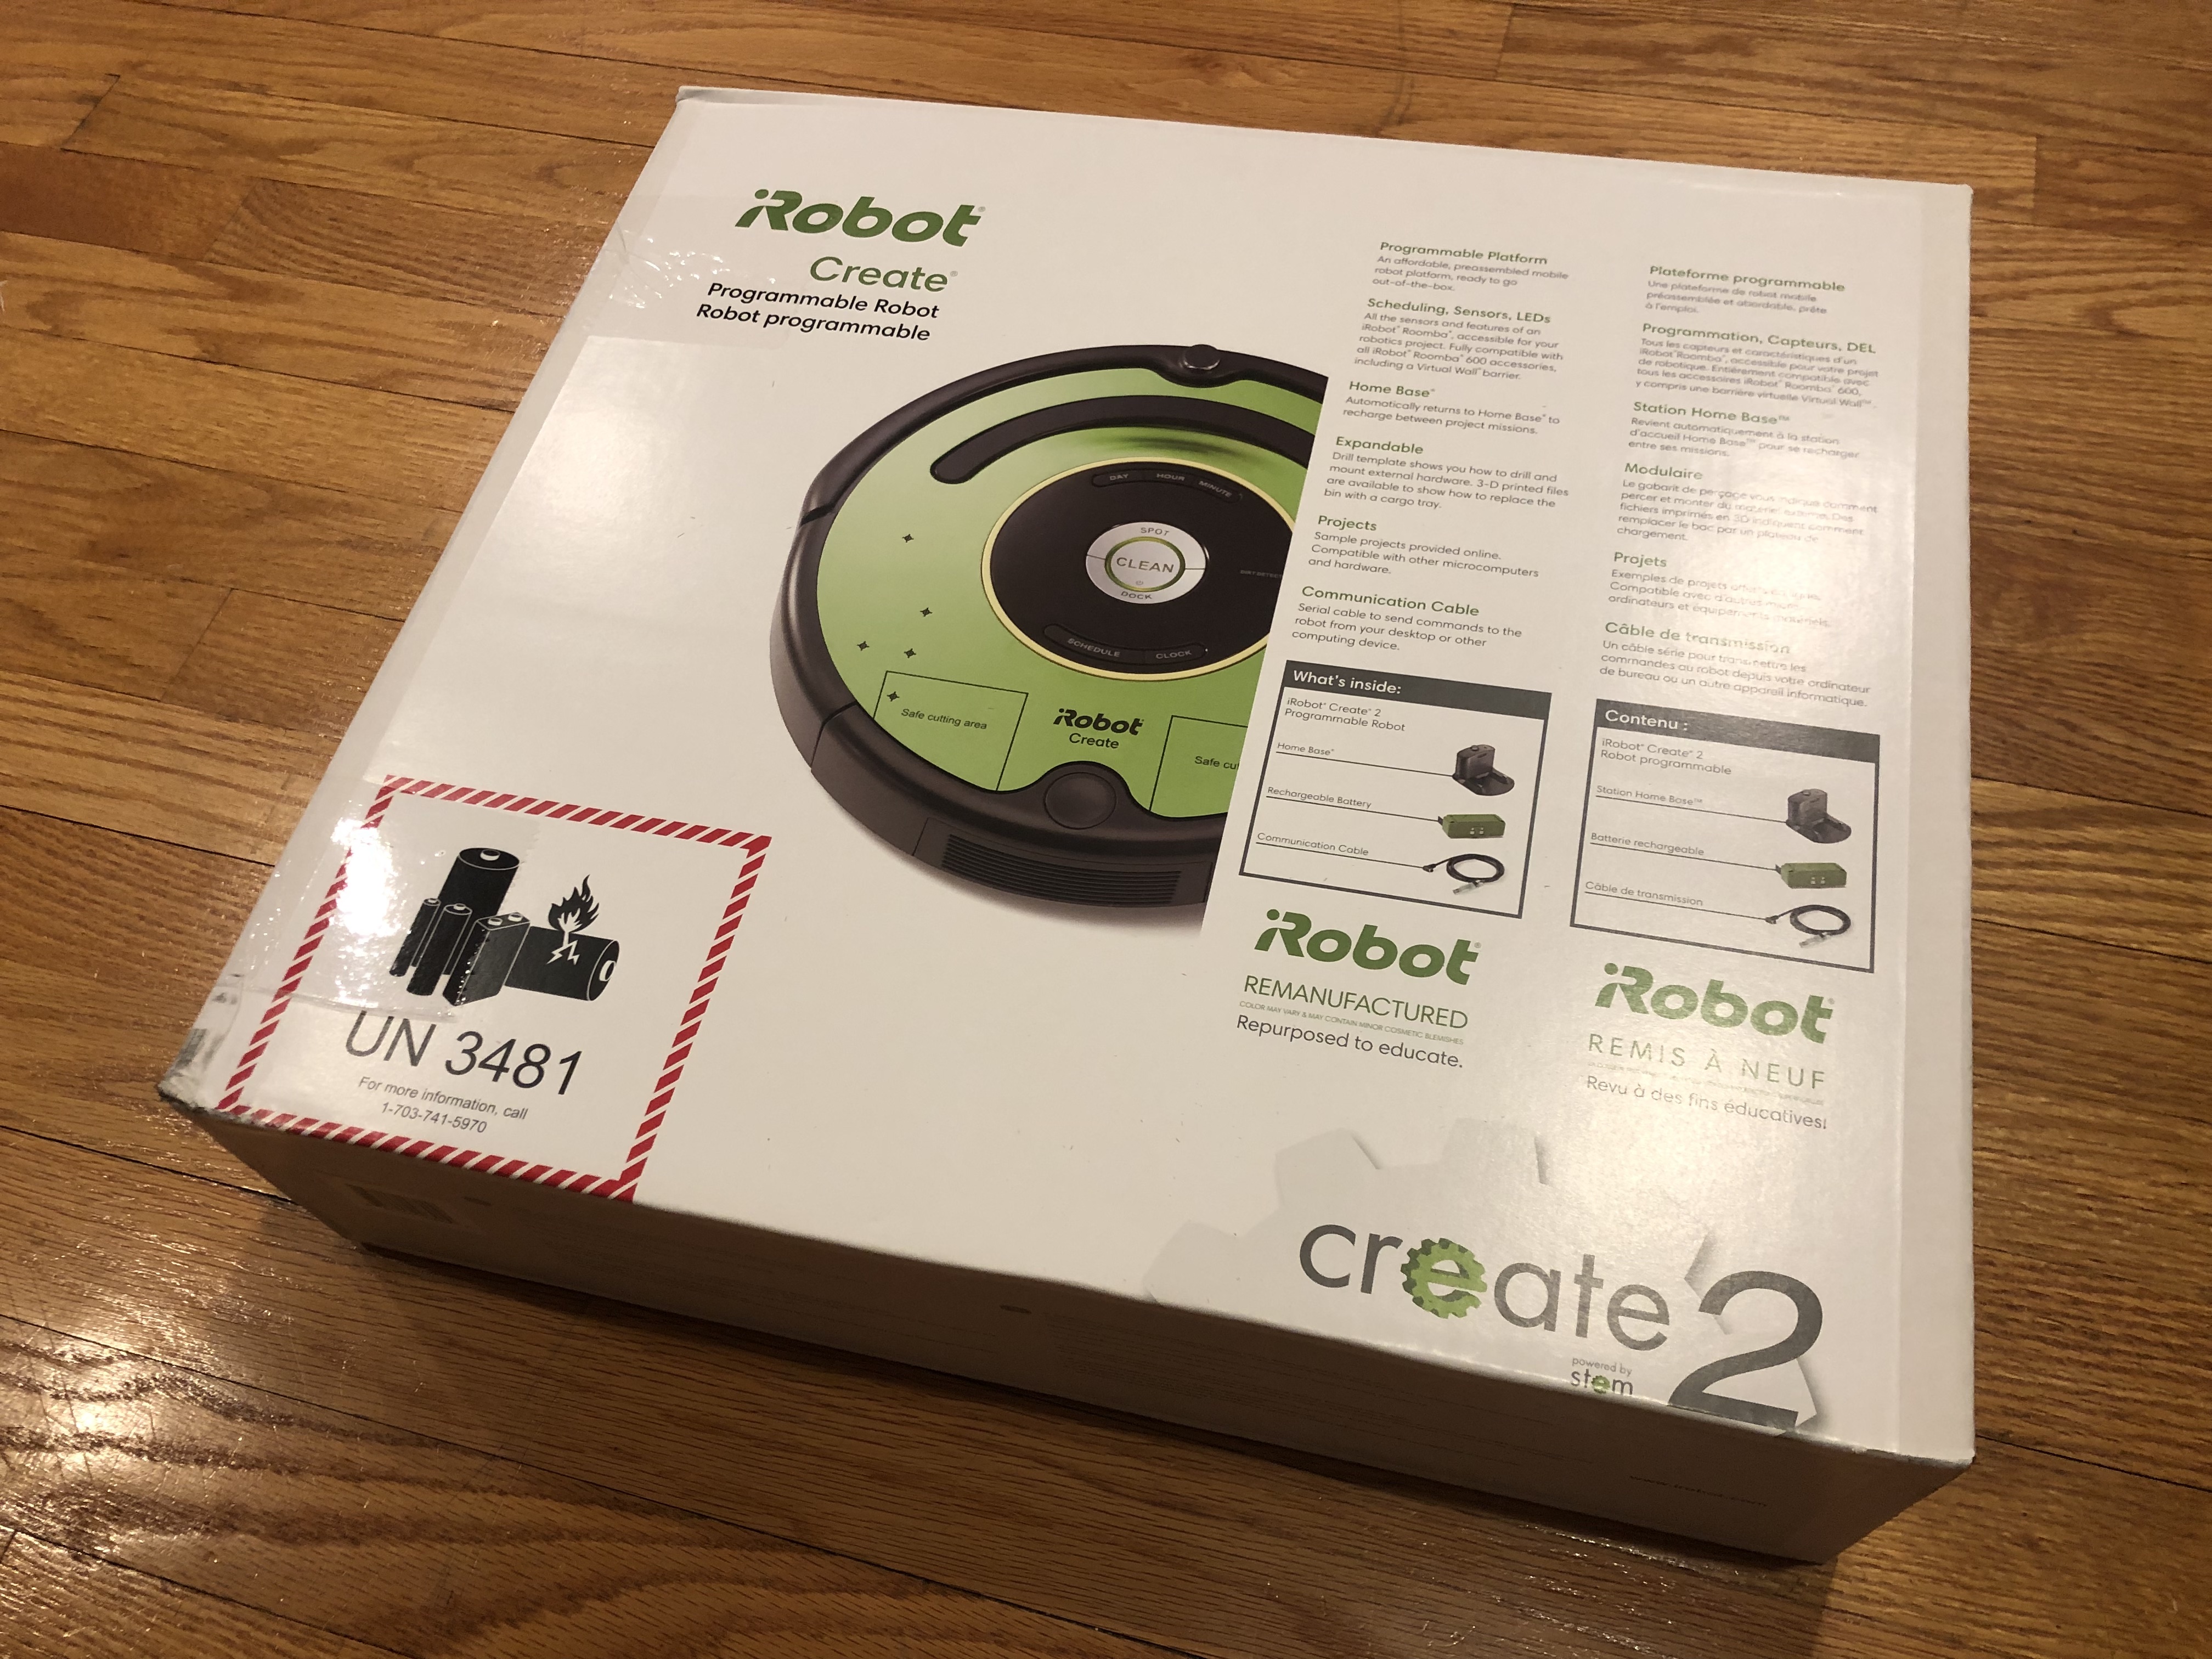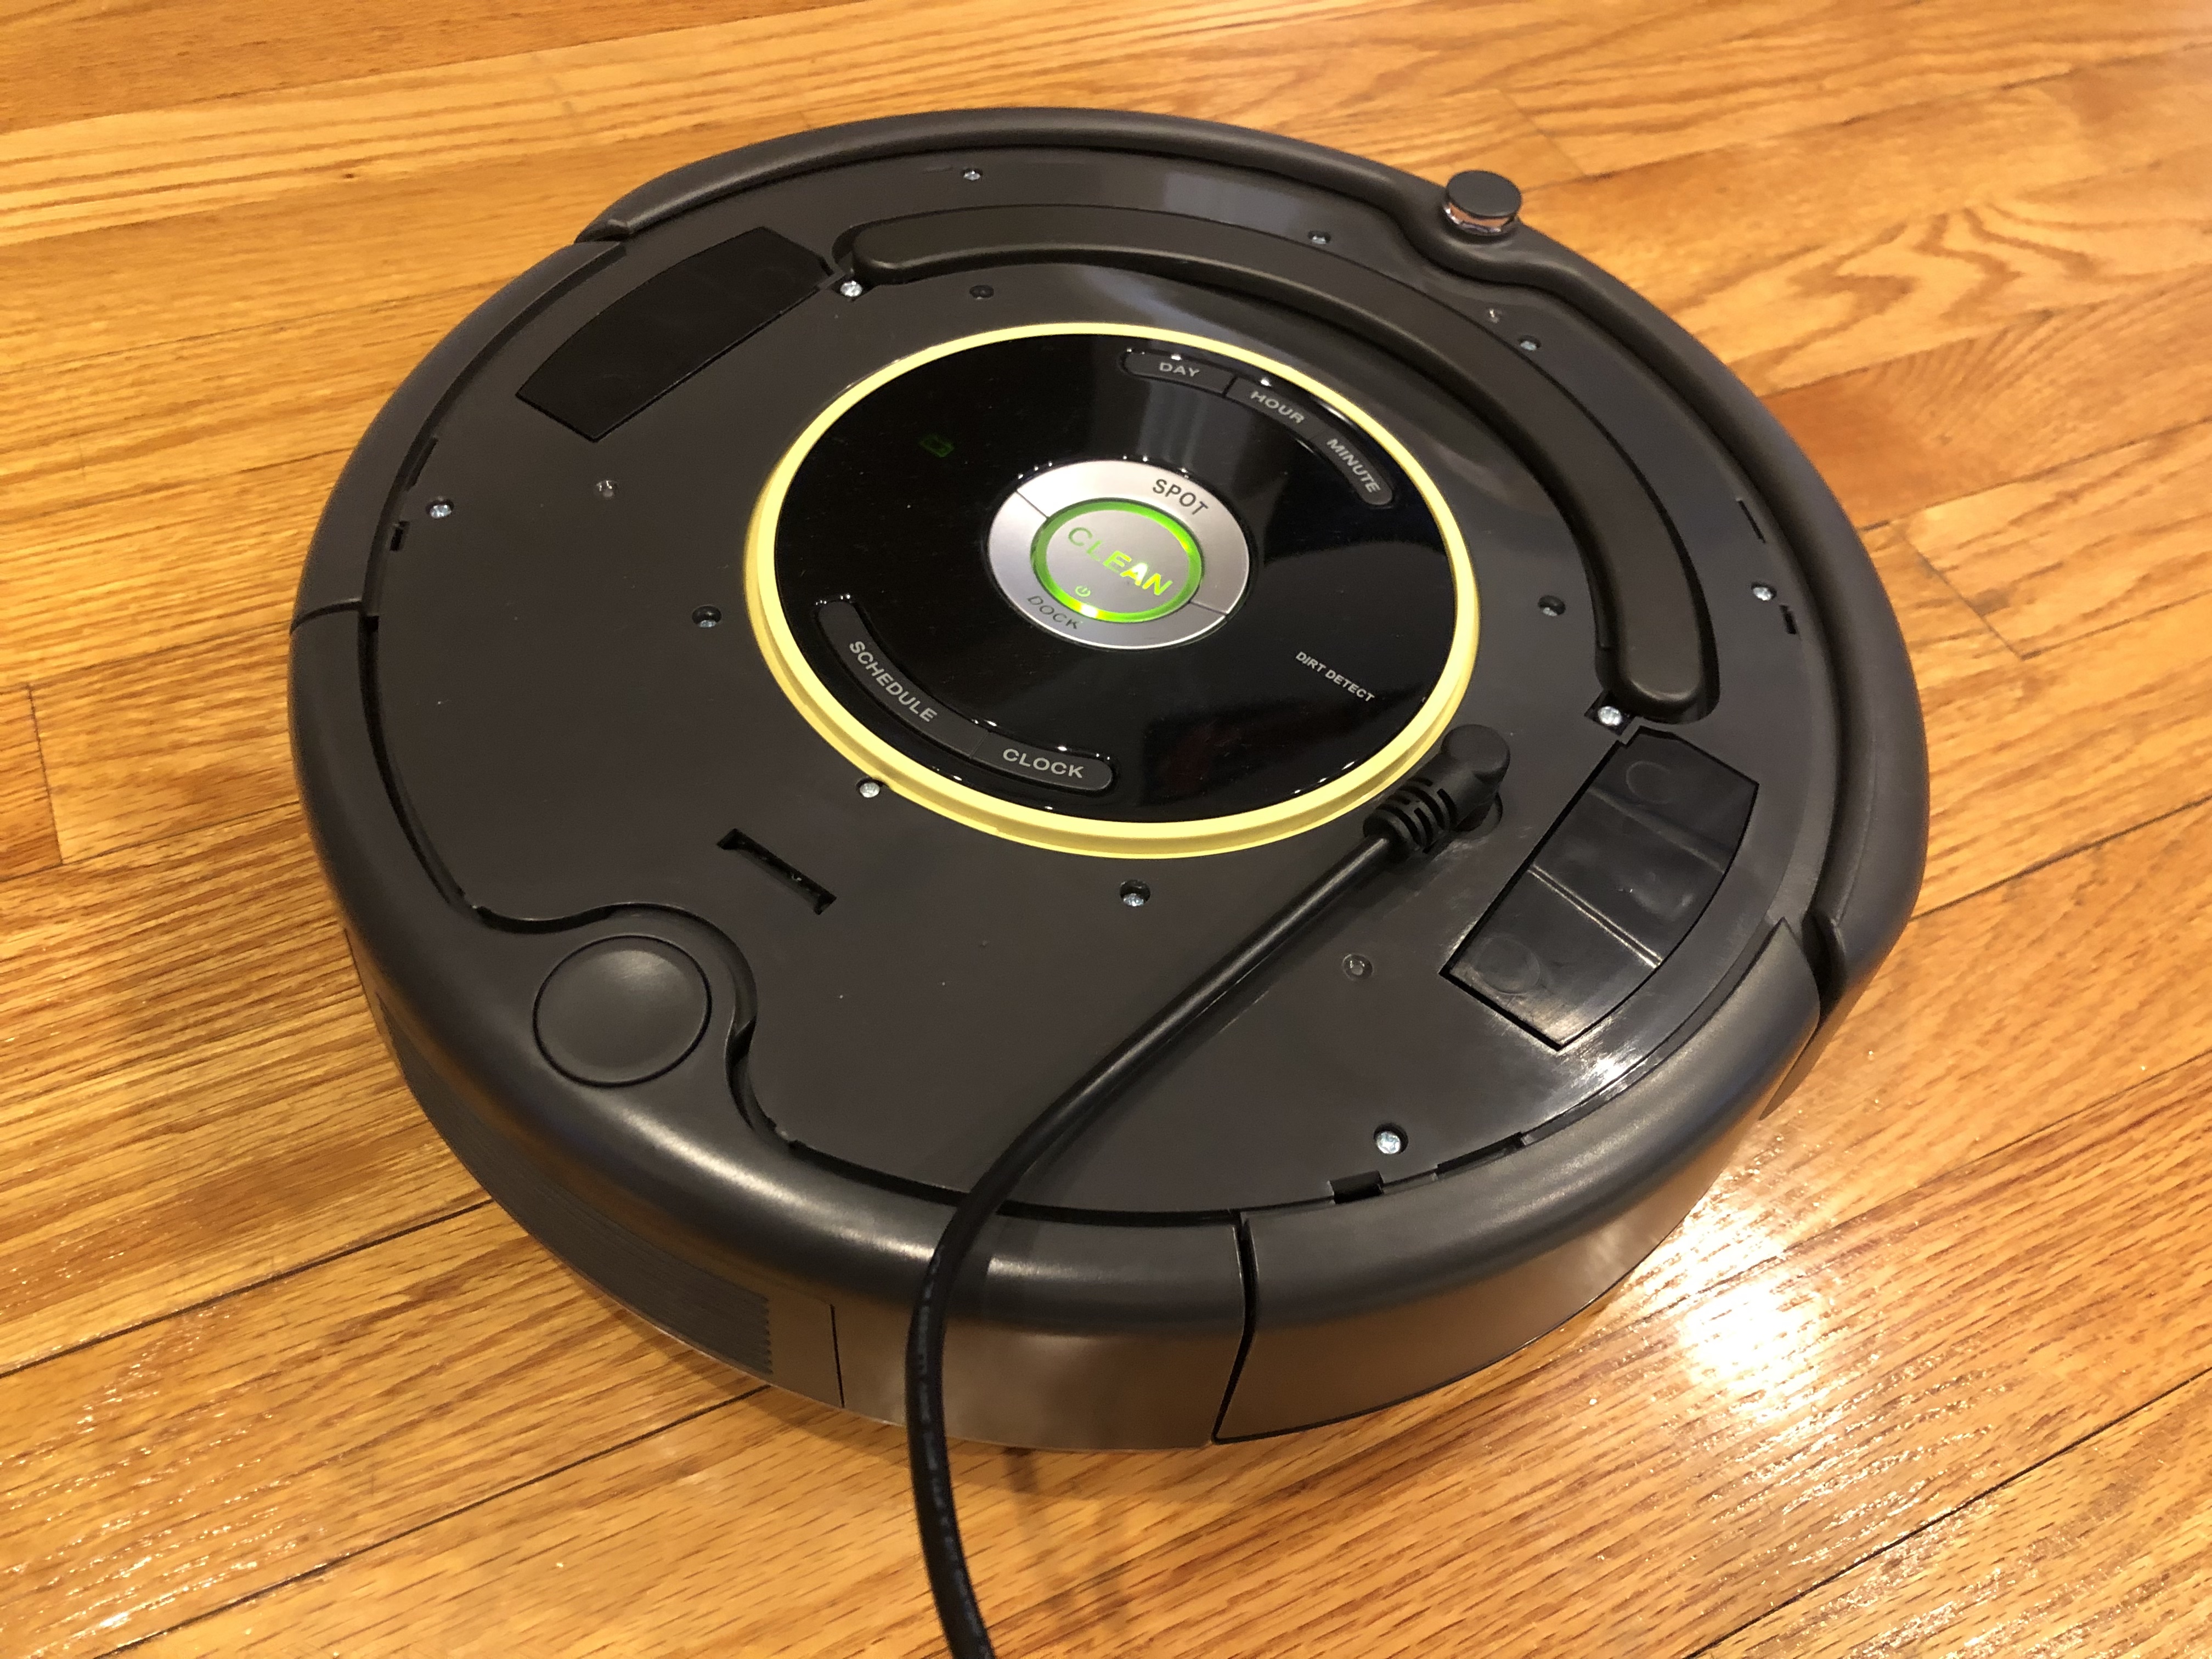
I recently purchased the iRobot Create 2 just to tinker with various control algorithms. The Create is an affordable robot made from refurbished Roombas and are perfect for getting to know robotics! Unlike other commercial bots, the Create comes preassembled and ready-to-use right out of the box, which is really convenient if you're just interested programming your robot, rather than focusing on the hardware. iRobot is actually coming out with their next generation bot, the Create 3, in April, which will feature Bluetooth and WiFi compatibility, more built-in sensors, and support for ROS2 and Python3. If you're a student or educator, and you're interested in purchasing one for yourself, you can request a discount for the Create - I received 20% with this.
The only downside I've found from this robot is that it's not entirely beginner friendly. There are no set up instructions, and even their setup documentation available online is limited. So, I decided to write up a quick start guide for those beginners looking to run some quick test commands before diving deep into their robotics projects.
Installation
When I received the discount code from iRobot, they sent me a zip file with some startup software, but I wasn't able to get their software to work, although it may have been an issue with my usb ports. Their online documentation covers serial commands you can send to your robot through a terminal like Putty or MobaXterm. However serial commands are unintuitive and impractical in the long run. So I searched for a more intuitive way to send some simple commands to my robot, and I found the pycreate2 python package on GitHub.
Go ahead and follow the Install instructions on the pycreate2 page to clone the repository and get the appropriate code and packages onto your computer.
These instructions require that you use your terminal. On Mac, this is your Terminal application; on Windows, this is your Command Prompt.
If you need to install pip, follow these instructions for Mac or for Windows. If you don't have the poetry package, simply pip install poetry.
Setting up your robot
Now that your computer has the right packages, let's hook up your robot to your computer. First, remove the green plate on the top of your robot. You can set the green plate aside for now. To avoid removing the plate every time you want to connect to your Create, you can modify the plate by drilling holes as necessary.
Locate the serial port and plug the serial cable into your robot, and the other end (the USB side) into your computer. Set the robot on the floor where it has about 6ft to move in any direction.

Sending commands to your robot
Once your robot is connected to your computer, we need to modify the python example code in the pycreate2 package to send commands through the right port.
- Go to pycreate2 > examples. Open
playSong.pyin either a text editor like Sublime or a compiler like Visual Studio Code. As the name implies,playSong.pywill just make the robot play us a song - it won't be moving yet. - You'll notice that the script specifies the variable
port. This is the port name on your computer that connects to your robot. To find your port name, Mac users can simply enterls /dev/tty.*in the command line. Search for the output that containsusbserial. For example, on my computer,port = '/dev/tty.usbserial-DN04MWUR'. Windows users should be able to find the port name (e.g.'COM3') in the device manager. Follow this link for more info. - Copy and paste your serial name into the
playSong.pyfile afterport =. - Now you can run your python file by entering
python playSong.pyin your terminal, or you can just hit run if you're using a compiler. Your Create will now sing you a song!
You can run the other example files in the pycreate2 package to test the motors, sensors, and LEDs. Just be sure to change the port name. Enjoy your new Create!